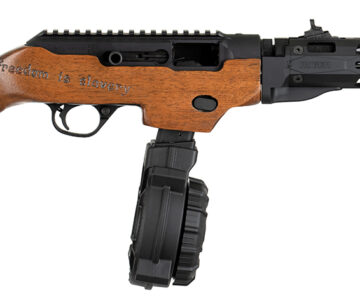
RPCw-41: The Finish Line
I started out going with just the manual hand planer and rasp but quickly swapped things up.


I had too much material to remove by hand so I busted out some power.

Now I can go after it with the rasp and chisel.


The eventual design is starting to take shape.

Get

Amazing how this rasp can really grind down the area for your hand. I like this part of the work.

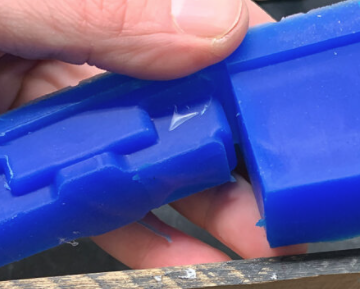
Made a mistake cutting too much of this hole out. Filled it with resin but didn’t mix it correctly and it never fully firmed up. Learning time.

After seating the action I marked off how much material needs to be removed to be flush. I actually left the magwell to the right at the extra length. I don’t mind it.


Getting much closer to the final shape.

After smoothing the stock I got the idea to pour resin on the exposed ends of wood. It felt more like just having an accent to the stock. I taped off each section, placed black die into the resin, and then poured it in. I really messed up on the bubbles and learned to not do some things. I think I’ll warm the resin in the future.


The resin fuses right onto that sucker. Then I sanded it down and promptly lost the smooth finish. 🙂


I sanded down until it was just the clean edge of black… or mostly clean. I was getting impatient.

The sanding looked like crap so I used my super flat black paint to finish off the resin.


A little more sanding and then time to stain it. I’m using a cognac color.


I was so happy at this point! So many flaws all over the place but I made this happen by sticking with it and just figuring out step after step.


The color below was shot with a color chart in the image, so that’s what it actually looks like. The above photo was in the garage with dumpster levels of lighting going on.

Figured out how I’ll fix those dowel marks on the right. Always improve by always learning.


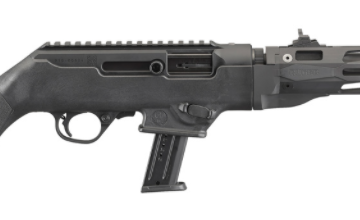
Pay attention to the raised mag ejection button below. It should be flush but is sticking out a bit. I didn’t have everything seated correctly which helped the mag fall out while shooting.

First shots with the carbine. I had to rush back to give my son a ride, so I just shot 50 rounds. Luckily, I had one failure to feed, multiple unintended mag releases, and the bolt not locking back. Those helped me come home and fix it.
I was a little misaligned on my openings in the stock and thought it easier to just cut off a section that wasn’t allowing the mag to be fully secured.