RPCw-41 Templates, Routing, Roughing
My first part of the process in making a new stock is to think through all the steps I’m going to need to take. Not that I followed all of them, but it’s nice to have a game plan prior to having to change the game plan.
The challenge that kept me from attempting this in the past is the magwell. I was worried about my ability to precisely place the parts necessary for locking and releasing the magazine.

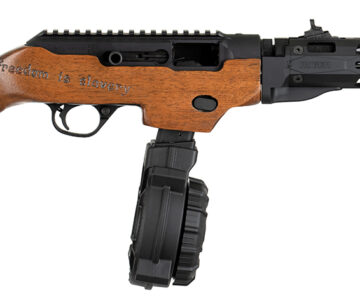
After looking at the complexity, I decided to just go with the Glock version, although after finishing it all, the Ruger version holds magazines so much more securely.

After my initial review of the internals, I was a little worried I’d be able to pull this off.

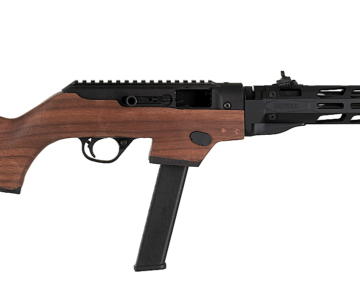
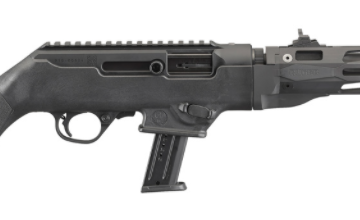
I started by tracing the stock. I decided not to complicate this in any way and stick with the initial Ruger shape.

Placing the template over my Walnut slab.


Jigsawing it out. Pretty simple process.

Boom. There we are.

Rather than just making one of these, I’m anticipating creating more of them, so I started by making a jig to precisely carve out the inside. Using the original stock I then use a router bit with a bearing on the tip to map out the shape of the stock.

Have to keep the jig level.

I take the photos myself (for the most part), so I don’t have any of me routing out the inside. You can see that I came loose on that right side but didn’t screw it up totally. I also didn’t center it well enough, but it’s okay. I can thin out the side that’s too thick.

My wife checking in on me.


Because of the limits on router bit depth, I can’t route out the bottom section. I created a template to drill out the key points.

I then use the jigsaw to connect the dots. You can also see I’ve marked where the bolts go to hold down the action to the stock.

Fine tuning the jigsaw cuts.

Dropping in and fine tuning the magwell.

It fits! Of course you can also see how I didn’t think through it and cut the wrong shape where the barrel connects. That was supposed to come back up after opening for the shell ejection.

Always good to make sure it fits prior to spending any time shaping the stock.

It fits but you can see the trigger isn’t fully through. That’s because I left extra space for mistakes. I plan on cutting down the extra wood to meet up with the trigger.

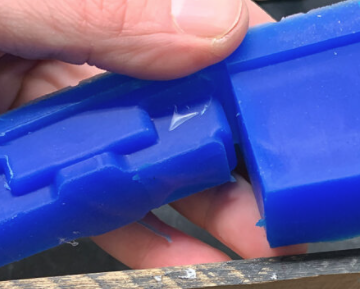
Hardest part right here. Trying to make the mag release fit and work correctly. I didn’t do a great job but it does work.

It’s okay.

Decided to add back some space I cut too far. I failed though when my epoxy didn’t come out in equal amounts and ended up never setting. That was awesome.

Good idea, bad execution.

I try to clean up my bench every so often. It gets so cluttered after just a few steps.

The start to some shaping of the stock.

This is a cowboy chair (I think that’s what it’s called) I picked up in Island Park, Idaho. Very cool stool.